How on earth do I get an EtherCon® shell onto my standard cable?
Your mission, should you choose to accept it...to attach rugged connectors to each end of your new reel of ethernet cable. (NB it comes in two parts...part two starts at Step 12)
Step 1: Get your new reel of cable with standard RJ45 connectors on the ends.
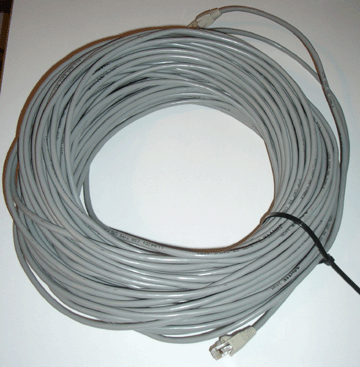 |
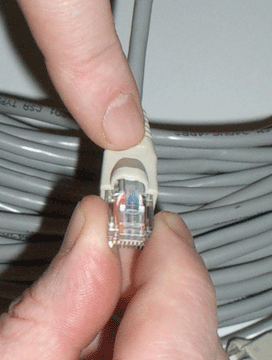 |
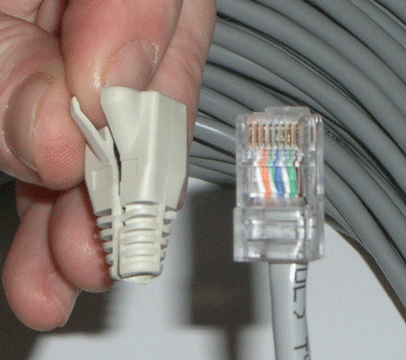
Step 2: Pull back the rubber boot and remove (we used scissors).
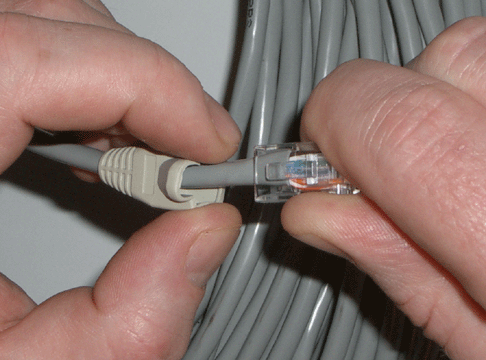 |
 |
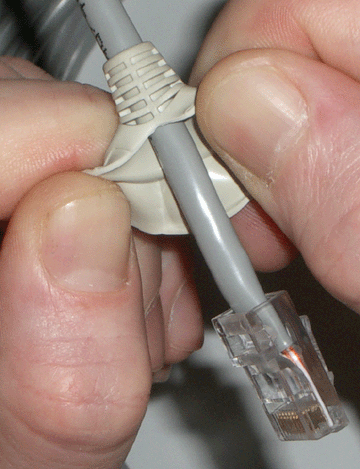 |
 |
Step 3: Get your bag of Neutrik EtherCon® connector parts & lay them out.
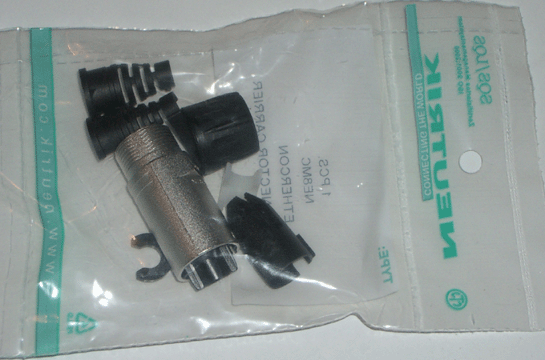
This is what you should have:
e) black boot |
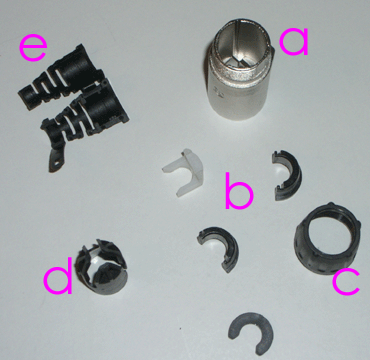 |
a) silver connector shell
b) A selection of plastic spacers (we’ll use the bottom one) |
| d) strain relief clamp |
c) black plastic collar |
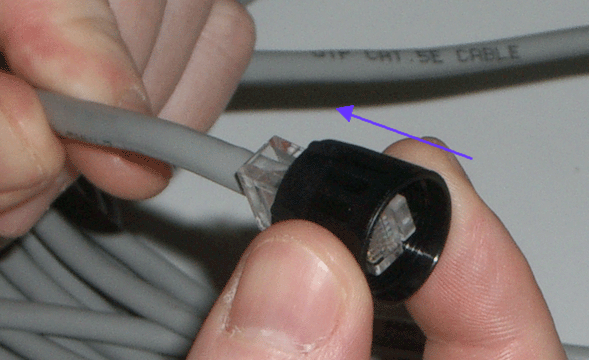
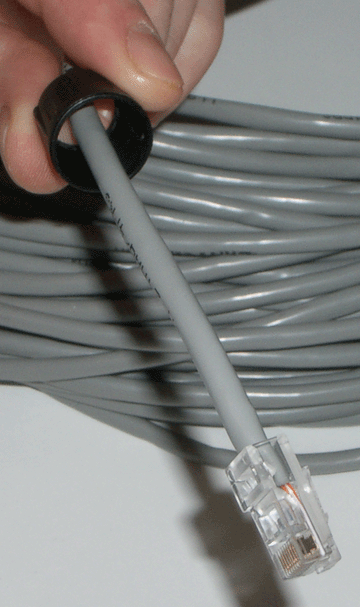
Step 4: Take the black collar and slide it over the RJ45, onto the cable, making sure that the non-threaded end feeds on first. Keep it out of the way (you’ll need it later).
 |
 |
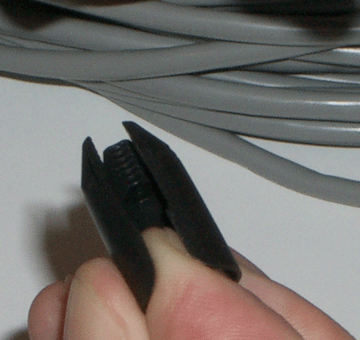
Step 5: Take the strain relief clamp & push it open, then slide it over the cable, tapered end facing away from the connector.
 |
 |
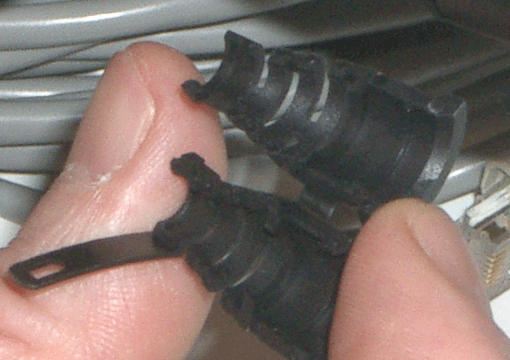
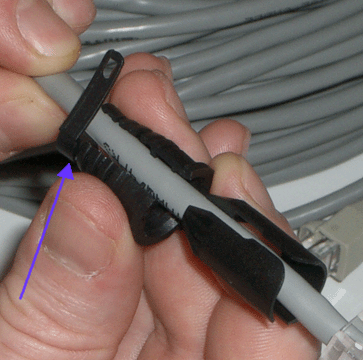
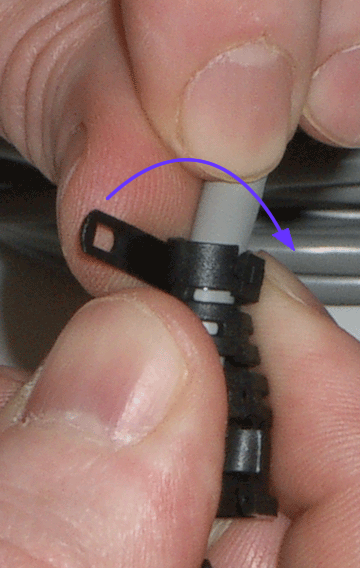
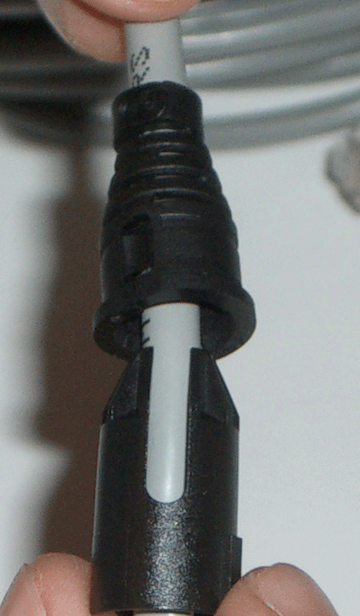
Step 6: Take the black boot. Slide it over the cable behind the strain relief clamp. Fold it round & clip the tab in place. A pair of tweezers is good for this bit, & we don’t have a video clip of how hard it is to snap the tab into place, but this is how it should look when it’s done.
 |
 |
 |
 |
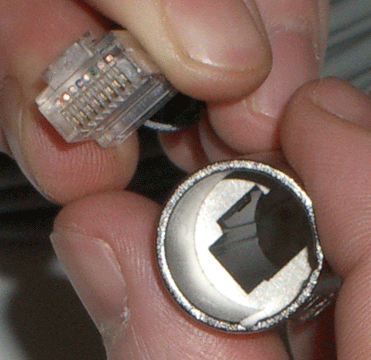
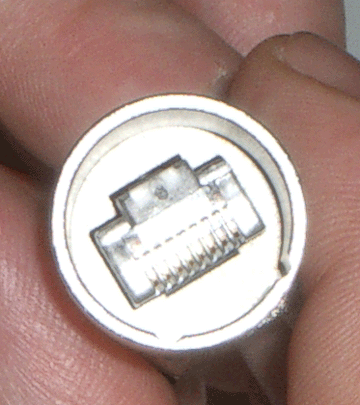
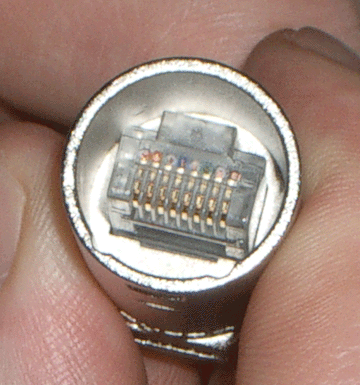
Step 7: Take the silver connector shell & spot the cunning ploy - the RJ45 only fits in one way, like when you were a kid & had to put the right pegs into the right holes. Push the RJ45 through the connector shell from back to front.
 |
 |
 |
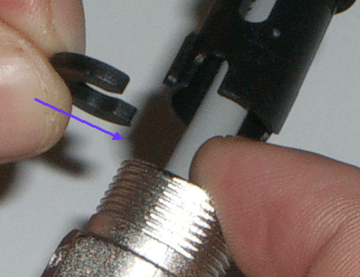
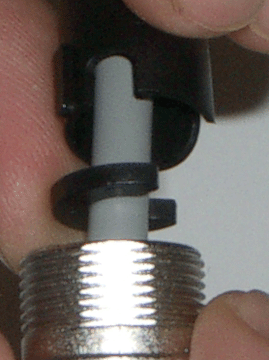
Step 8: Take the little black C-shaped spacer. Slip it over the cable, behind the connector shell but in front of the strain relief clamp, and let it drop into the connector shell. Note: if you don’t have this kind of RJ45 connector, you may need to use one of the other plastic spacers (see Step 11 ‘leftovers’ below).
 |
 |
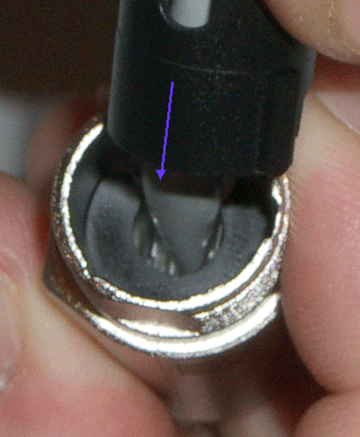 |
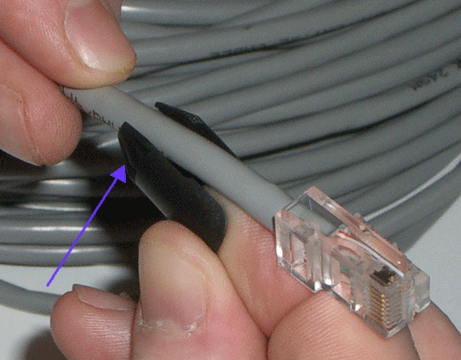
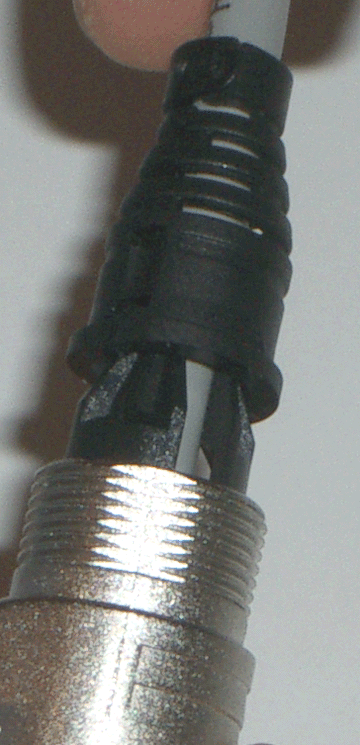
Step 9: They’re very cunning. Again, like pegs in holes, there’s only one way for the strain relief clamp to fit into the connector shell. Look for the slot (where the tweezers are pointing to in the picture), and push the strain relief clamp up the cable into the shell. Then slide the black boot over the strain relief clamp.
 |
 |
 |
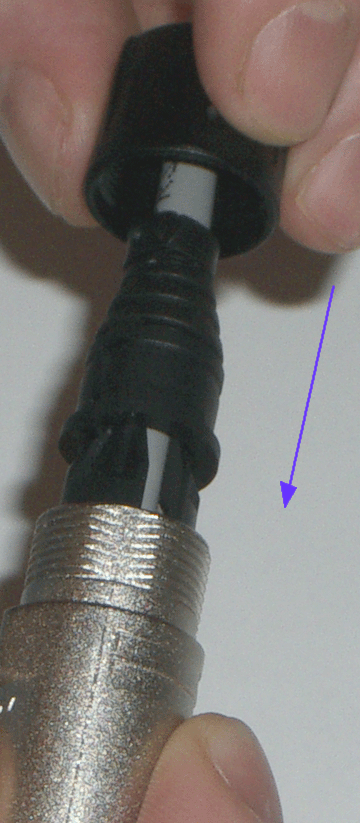
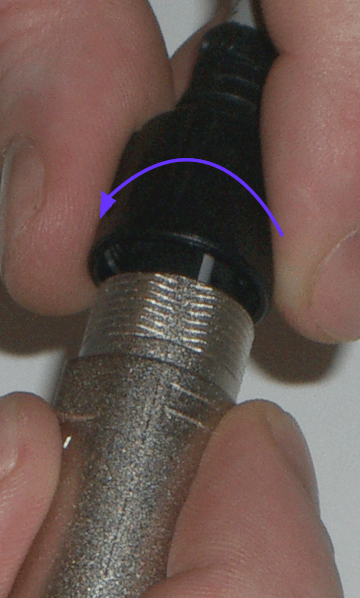
Step 10: Wow. Nearly done! Remember the black plastic collar that’s somewhere down the cable? Find it, then push the collar up the cable, over the boot & screw it onto the connector shell (that’s why the non-threaded end had to go on first).
 |
 |
Step 11: That’s it! Pat yourself on the back, check it’s all in place & tightened up. Hmmm...leftovers...well, yes, we had these bits left over, & that’s to do with the kind of connector on the end of the reel of cable (see Step 8 above). No matter, we recommend responsible recycling.
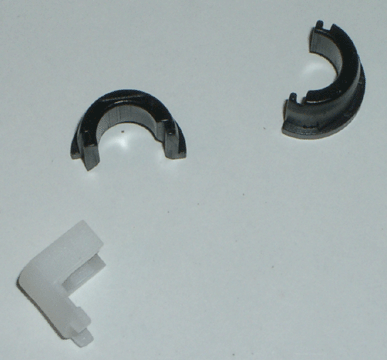
Step 12: Well done. You have completed the first part of your mission. Now return to Step 2, take a deep breath and do the connector at the other end of the cable reel!
~ The End ~
 connecting performers